12.04.2013

Men's Holiday Wish List

If you have a special man in your life take a look at this gift guide I created of quirky, fun presents to give to your husband/brother/dad/uncle/cousin/son. 
 

1. Coat 2. Belt 3. Scarf 4. Tape Measure 
 
I hope this finds you in the holiday spirit, if not this might help:


12.03.2013

Eugene Turns One

 This little love bug celebrates his FIRST birthday today.  Eugene has brought unending joy to our lives + we are so thankful to call him ours.
While my parents were down for Thanksgiving we threw Eugene a little Birthday celebration.  We sang to him, gave him some new pajamas + let him go crazy on his own chocolate cupcake.  I would say that was the highlight of his first year! However, next time, we're going with vanilla. Ha.
We love you to the moon + back Eugene Robert!

10.28.2013

Oh Darling, Let's Be Adventurers

We happened to catch a perfect fall day yesterday.  The sun was shining brightly, the trees were still holding on to bits of color + the temperatures were tolerable enough to frolic in outside.  After taking a drive through the country + fueling up on some Intelligentsia coffee it was inevitable that my camera would find its way to my hands.  We went for a hike in a great southern Wisconsin park where I immediately starting taking pictures.  We unintentionally matched the scenery + also unintentionally matched each other. I wait all year for this season to return + 2013 did not disappoint me. 
When the bleak of winter starts to wear on me I will have to find these pictures + revel in them to remind myself that color will once again reign as king.  The forest was full of vivid shades of yellow-orange leaves, back lit with endless sunshine glowing through the trees upon which they were resting. It was breathtaking. 
Eugene had so much fun playing in the crunchy leaves + then attempting to eat them when we weren't looking.  I am quite certain he would have stayed all day if we would have let him.  
I hope you have gotten the chance to be out in nature to enjoy this lovely season.  I am going to try to hold on to autumn as long as I can.  The holidays will be upon us shortly, we will find ourselves ringing in the new year + before long there will be another baby joining this little family. There is so much to be grateful for!


10.01.2013

Having A Blast

As you may know, we are expecting our 2nd child in March! We couldn't be more excited to grow our little family + for Eugene to have a playmate.  We won't find out the gender for another month so in the meantime I came up with some gender-neutral ideas for the nursery.  Just me over here dreaming + being inspired.  Enjoy!


9.16.2013

Autumn Wanderings

Just popping by to say hello + to show you a little of what we have been up to lately in this lovely fall weather.  I hope this finds you well + enjoying all things pumpkin!
Xoxo,
Heather


8.16.2013

Recipe: Restaurant Soup In Your Home

 
I highly recommend dropping everything to make this rich, velvety soup.  It is very simple to make, but I guarantee the taste of it will blow you away!  I used vegetables I had in my fridge/from my garden, but feel free to change up the recipe to whatever vegetables you have on hand.  Now go, get cooking! You have friends who need impressing!
 
 RECIPE:
 
Garlic Infused Olive Oil
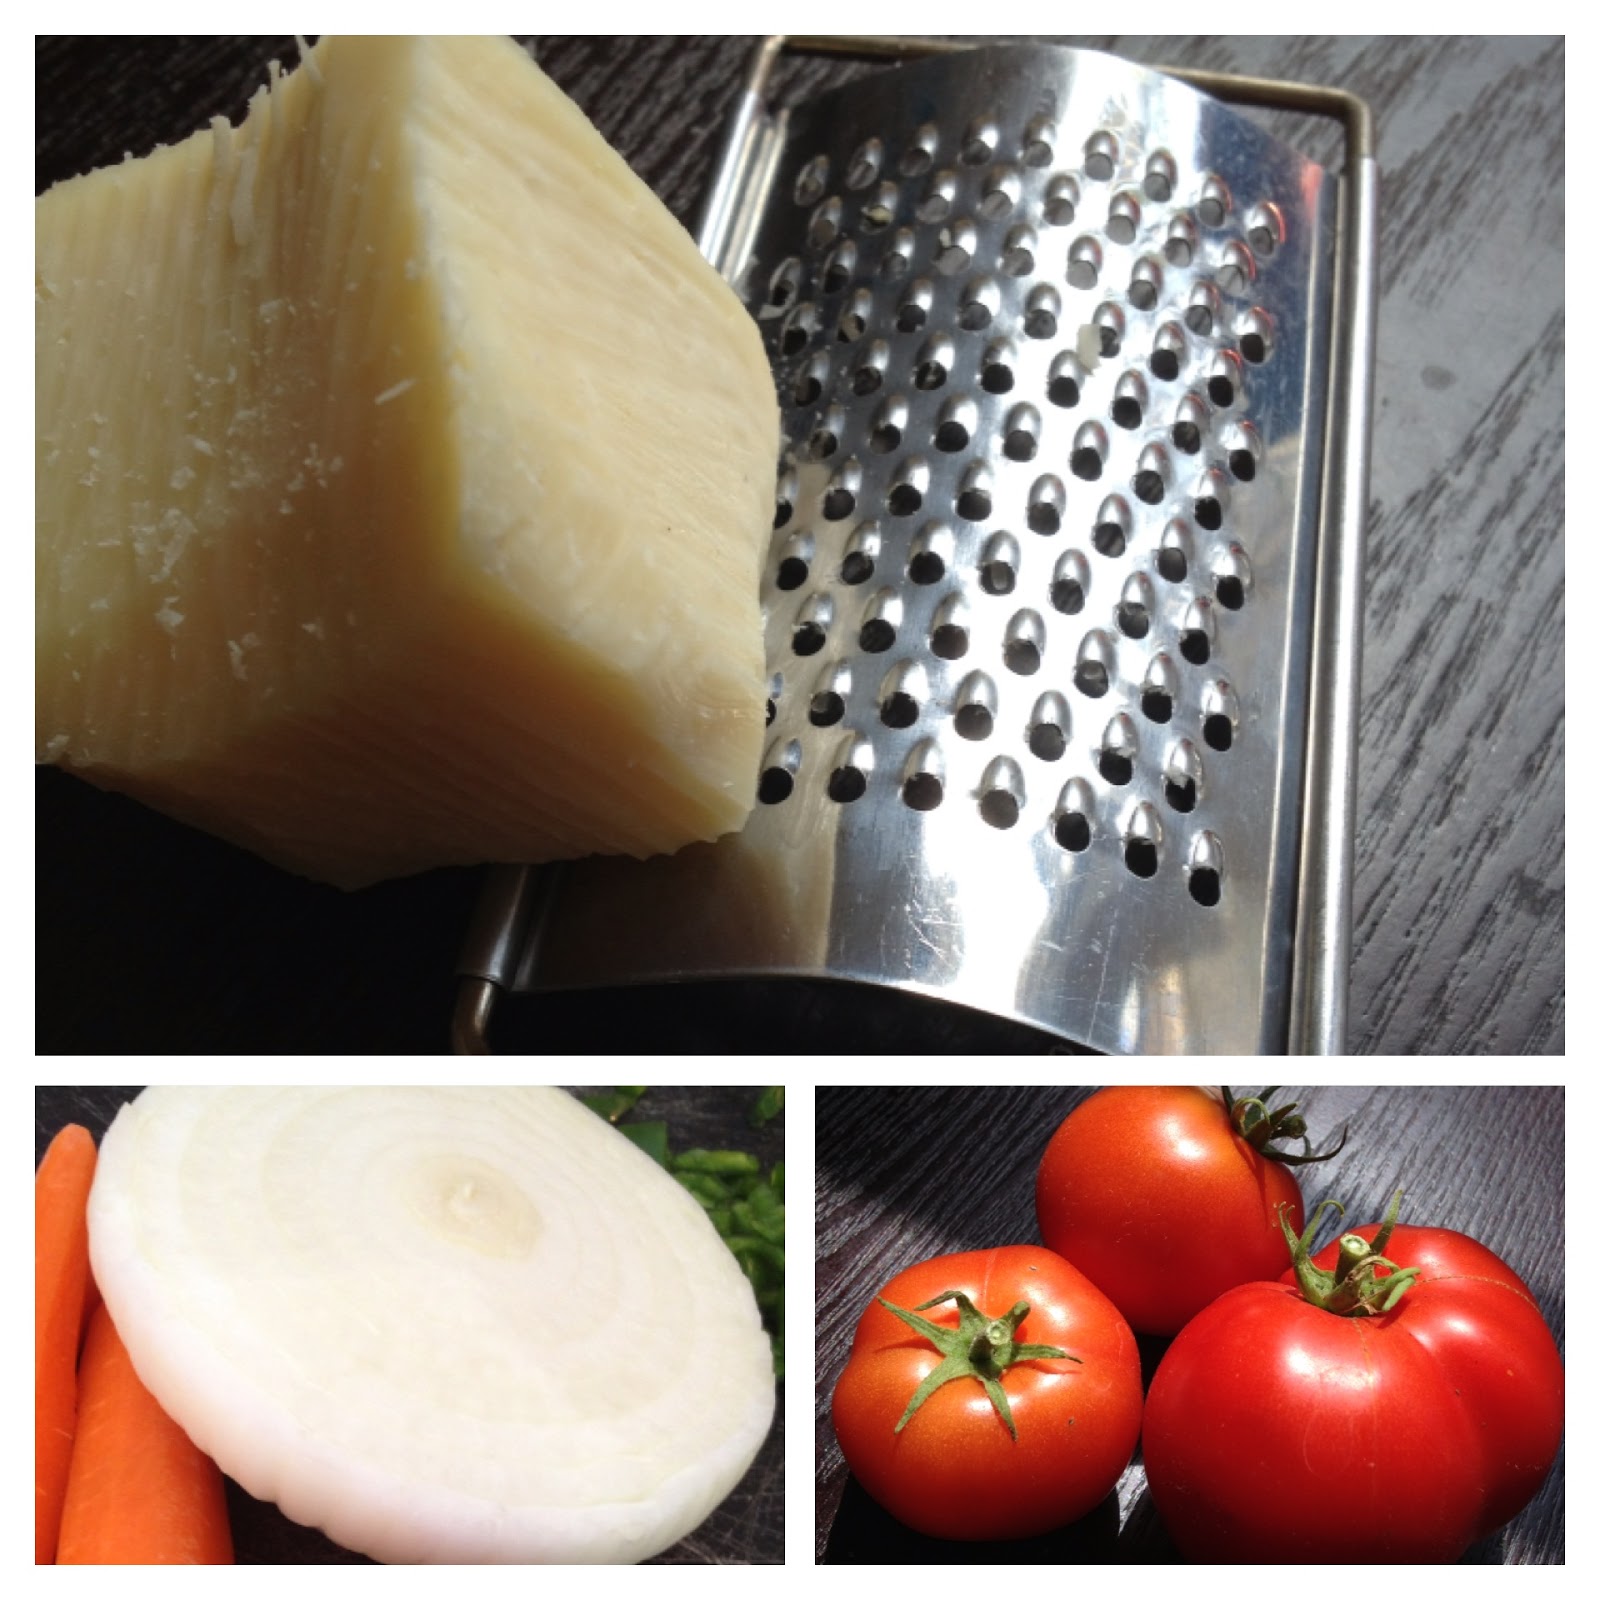
3 Small Tomatoes
5 Carrots
1 Small Green Pepper
1 Sweet Vidalia Onion
Herbs
Seasonings
Butter (optional)
Cream (optional)
Freshly Grated Parmesan (optional) 
Water
 
1. Heat a generous amount of garlic infused oil on medium heat in a Le Creuset pot or a sturdy kettle. Basically, you want enough oil to cover the entire surface of your pot. If you don't have garlic oil on hand you can add some chopped garlic to the oil, just make sure it doesn't get very brown or it will turn bitter. Add some fresh or dried herbs to the oil until aromatic.
2. While the oil is heating dice all your vegetables.
3. Add the onion/pepper/carrot mixture.  Add salt/pepper/seasonings of your choice. Sauté until onions are translucent + brown. Add a dab of butter to mixture. Add tomatoes. Sauté all ingredients for a good 5 minutes. 
4. Add enough water to cover all the vegetables + let simmer until all vegetables are soft.  Approximately 15 minutes. Then remove from heat + let cool a bit.
5. Add soup mixture to a blender. CAUTION, mixture is still hot so don't cover the blender completely.  Either use towel to cover the blender or just set the top loosely over blender so you don't get sprayed.  Puree until well blended. Add a bit of water as needed to get a runny applesauce consistency. Also, add more seasoning if needed.
6. Strain soup through a cheesecloth.  This is what makes it SO velvety. YUM.
7. At this point I added some freshly grated Parmesan cheese + a bit of cream. I think this makes it go all the way up to an eleven.  I am not kidding this soup is fantastic.
8. Enjoy.
 
***NOTE: This recipe only makes 1 larger bowl of soup.  If you are making this for a bunch of people, I recommend using 5 large, ripe tomatoes, 1 pound of carrots, 2 large peppers of any color (mixed colors), 1 large sweet Vidalia onion & more of everything else, as needed. 
 

7.17.2013

Heat Wave In Wisco

 
Hello from Wisconsin, where it is so hot I can't even breathe if I step outside.  Who's with me in wishing for autumn?  Summer really takes a lot out of me physically so anytime the temperatures want to dip back into the 80's or 70's that would be great! I would even take 60's, gladly.  Anyway, I took some photos of the babe a few days ago & thought I would share them with you. Little Eugene is 7.5 months old already.  What a little gent. Hope today is a good one!
 
Xoxo,
Heather


7.05.2013

DIY Ombré Woven Flower Pot

 Good morning, all!  I hope you had an enjoyable, warm, festive 4th of July. We headed to Lake Michigan as soon as Josh got done with work to watch the waves & let Eugene play in the sand.  We had a quiet night of grilling out, baths & watching Justified. Today I am sharing a very easy, inexpensive DIY with you:
 
A colorful ombré flower pot for less than $10. 
 
Supplies:
 
-Woven basket (mine was $2.00 at a thrift store)
-White & blue acrylic paint (or any color you like)
-Paint brush
-Potted plant
 
1. Start by cleaning the basket to rid it of dust/dirt. 
2. Then apply 2 coats of white paint, letting the first coat dry completely.  I used Martha Stewart Acrylic Satin paint which cost about $2.00 per bottle.  I got the paint at Michaels, but most craft stores carry it.  I have found this paint to work the best & last the longest.  
3. While the last coat of white is drying, start painting the bottom of the pot with the colored paint. 
4. Next, start working your way up the bottom half of the pot with the colored paint. Add more pigment at the base of the bottom & less as you go toward the top to create the ombré effect. I used a dark blue color which you can see turned a nice light blue as the white & blue blended.  You can get as creative as you want.  You can also simple paint the woven pot one color.  I like how the paint brings out the detail of the weaving.
5. Put up in your place & enjoy! Or give it away as a housewarming gift!


7.03.2013

Quiet Afternoons

Good afternoon.  Hoping this finds you all well! This is what happens when we have a busy month of visiting friends & family, our sweet baby Eugene slept for 13 hours last night & most of today! Happy 7 months, little champ.  Thanks for letting your mama make art today.


Xoxo,
Heather

6.19.2013

Recipe: Simple Quiche

 
I made this simple Quiche for my husband & I today.  It was quite quick & so delicious. 
 
Ingredients:
 
6 Eggs
1/4 Cup Cream
1/4 Cup Milk
1/4 Cup Flour
1 Tsp. Salt
1 Tsp. Baking Powder
8 Oz. Sharp White Cheddar
Vegetables
Herbs
Salt & Pepper
Jiffy Pie Crust


Start by making the pie crust.  I used a box of the Jiffy brand pie crust- SO easy.  All you do is add cold water to the mix, stir, roll dough & place in your pie pan.  Next, in a bowl whisk the 6 eggs.  Add the cream & milk to your eggs.  In a separate bowl combine flour, salt & baking powder; stir.  Add the flour mixture to the egg mixture & whisk until all the lumps are gone.  Now comes the fun part.  Add an assortment of vegetables, cheeses, herbs & seasonings to the egg/flour mixture & combine well.  I used fresh basil from our garden, red pepper, onion, cheddar & Parmesan cheese.  I also added some fresh garlic, salt, pepper, dried parsley, red pepper flakes & dried Italian seasoning.  Once all the ingredients are incorporated, pour the mixture into your prepared pie crust.  I sprinkled the top of the mixture with some cheese & dried herbs.  

 
Bake at 400 degrees for 15 minutes.  Then reduce your oven temperature to 350 degrees & bake for another 35-40 minutes until the crust is brown & the Quiche is set (doesn't jiggle).  Let cool for 10 minutes, if you can wait. Enjoy!
 

6.17.2013

Quirky Art


This is what I have been up to today while baby Eugene naps.  I have always thought animals in clothes were whimsical, hence the new creations.  I hope they brighten up your day!  And to see more creations, please click here.  I hope your weekend was grand!  Until next time, friends.


Xoxo,
Heather


6.10.2013

Customizable Teepee Art For Your Nursery

 
Hello!  This is a whimsical teepee print that I made for my son Eugene's nursery.  I thought you might also like to have this artwork for your baby's nursery or to give away as a fun baby shower gift.  You can visit my Etsy shop to have the teepee customized to any name. 


It was so fun to make & I feel inspired to make more art for Eugene's room.  I hope the sun is shining brightly in your corner of the world.
 
Xoxo,
Heather

5.30.2013

A Eugene Photoshoot

 
Hello friends!  I hope you all had a fantastic Memorial Day weekend!  I wasn't feeling the best prior to the weekend, but forced myself out of the house on Saturday with Josh, Eugene & Cali in tow.  Our intent was to get a cheap lawnmower from a coworker who was selling 3 of them at his rummage sale.  En route to rummaging we got sidetracked by an estate sale.  We entered in a giddy manner & left a bit disappointed as it turned out to be more of a junk sale than anything.  As we were trying to find the "lawnmower sale" we passed under a rusty train bridge juxtaposed from an old salt factory.  I instantly felt inspired by all the architecture, the blue & brown paint splotches & the rusty exposed frames of the bridge.  All I could think about was going back to this street for a photoshoot while Josh was laughing & telling me to look at the huge lawnmower sale.  I looked & all that sat before us was a very empty driveway/garage/yard with not a sign, lawnmower or person for miles.  We doubled checked the address & the quiet looking lot for any sign of a sale.  How strange.  Well, we never did find a lawnmower, however we did have a successful photoshoot.  I hope you enjoy it!  I am off to find a grass-eating animal to help with our 2 foot tall grass issue. 
 
Xoxo,
Heather


5.03.2013

Our DIY Wood Headboard

 
I want to share with you a very simple, DIY headboard project that my husband & I did together to celebrate the warm weather & sunshine. 
 
 
We started by gathering a total of 6 pieces of wood from Home Depot.  We used 5 longer boards for the actual visible part of the headboard that each measured 8' x 1&3/4".  Our bed is a king & measures 76" in length.  We realized that the headboard would be about 10" longer than the bed on each side, but wanted this grand, over-scaled look.  The hope is to one day put lighting or hang plants on each side of the bed, utilizing the extra length & space of the headboard.  We also purchased a 108" thicker piece of wood that we cut in half to use as the support/legs of the headboard.
 
Next we cleaned & stained all the wood using a Polyurethane stain in Espresso.  We gave the wood 2 coats of stain & 2 coats of a clear Polyurethane finish, letting each coat dry for at least 2 hours in a well ventilated area (outside).  With the finished sides facing down we put the 5 boards together vertically on a clean surface & measured in 24" from both ends.  We then positioned the legs horizontally on the back of the headboard at the 24" mark.  Each leg, which acted as a brace, got 5 long wood screws screwed in directly over the center of each of the vertical boards. That was it.  We let the piece dry outside overnight & then excitedly put it behind our bed. The final look is rustic chic & we love it.  I painted a whimsical field of flowers on a large canvas & hung that above the bed.  
 
 
To complete the look I threw a variety of fun, colorful pillows on the bed. 


Everyone in the McDonald house seems to be enjoying the new space!  It was such a fun, simple project which has inspired us to try making a coffee table next.  Stay tuned...
 
Xoxo,
Heather


3.25.2013

Little Boys

With thoughts of my family's move this weekend I have been day dreaming about decorating our new space.  I found some really adorable items for a boy's nursery/room & I thought it would be fun to share these finds with you.  Next time I am out thrifting or antiquing I will have to snap a few shots of other unique items I would add to a child's room.  I always try to add my own style to existing items purchased from the bigger retailers! I hope you enjoy.
 
Xoxo,
Heather & Eugene


3.16.2013

Art Giveaway


Hello friends! I'm honored to be part of a giveaway over on my friend's blog, Breathe Happiness!! This blog is beautifully inspiring & lovely to read/look at. Pop on over there ASAP!! To enter the contest be sure to subscribe to both of our blogs & then leave the girls over at Breathe Happiness a comment here. What will you win? Three of my latest Navahoe art prints matted & ready to frame (frames not included). 

2.25.2013

Life Through Instagram

I am sure you have all heard of Instagram.  I love Instagram, which is kind of like Facebook, but with simply pictures.  I am a photographer, so that makes sense.  If you are a part of this community, pop on over there & follow me @hlynnmcdonald!! Here are some Insties (Instagram pics) of my life lately.  


Josh, my husband, & I decided we would take a Friday afternoon adventure last week.  He had gotten off of work early so we loaded up the car with Eugene, our little boy, Cali, our Jack Russell, coffees, my DLSR & a sense of adventure & headed west.  You can go wrong when you head west, right?  The first town we went to had a historic downtown, supposedly.  It wasn't much to write home about so we continued on.  The lighting was perfect as the sun began to set so I snapped some dreamy Wisconsin farm Insties.  

Wisconsin is notorious for having hidden little gems scattered all about the countryside, which is exactly why we left our house without any plan in mind.  We found this place, The Chalet, in good old Sugar Creek, WI. It was charming to say the least.  There was a cozy fireplace going, Brandy Old Fashioned's were being passed about & there even was an oyster bar...in Wisconsin.  We did not feel brave enough to try oysters in this land-locked state.  However, we really wanted to try the in-house aged steak & crab legs Valentine's dinner.  In the end, we went the cheaper route & got the fish fry, an essential on a Friday night.  It was pretty good, but not great.  Next time, we'll save up our pennies & get the steak! 


We ended up at Wilmot Mountain.  Let's be honest, it is not a mountain, but you can ski or snowboard here...down some nice hills.  There is a very Swiss-themed lodge to sip hot cocoa in while sitting in front of a large fireplace.  Since I don't ski or snowboard, well, & we had little Eugene with us, we opted for the fireplace option.  We watched what had to be all of the surrounding town's teens go down the hills & off the jumps while simultaneously & ferociously flirting.  It was such a fun night!!


I have also been busy creating!  This is my balance, my therapy, my love.  I have been doing a lot of patterns lately, as you can see.  I even branched out into some Native American & Moroccan-esque art.  These designs look awesome when made into greeting cards, iphone cases, throw pillows, framed prints & canvases!! This creating keeps me sane.  Feel free to also visit my Etsy shop!


Most importantly, I have been trying to dig a deeper inner well.  I have been intentionally filling up my internal world with scripture, prayer, sermons & of course images of God's beauty.  This church, Door of Hope, has started a new sermon series called Labor of Love.  I would like to borrow this phrase & call my quest for a deeper inner well a labor of love.  We must, after all, have full cisterns to be of any use to those whom we love & the people we meet. 

Xoxo,
Heather